In the world of packaging, a single fold or cut can make or break the design. Meet the cornerstone of any successful packaging project: the paper box template.
What Are Packaging Templates?
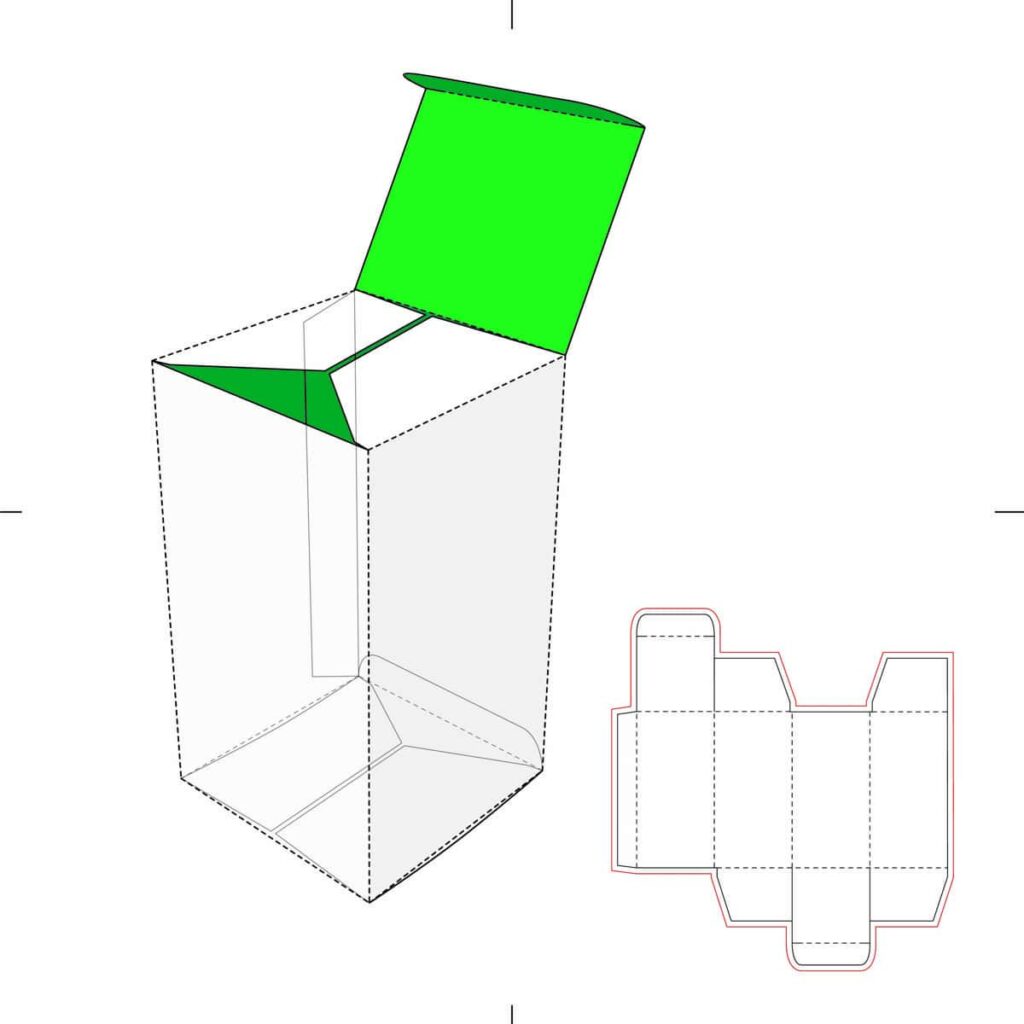
Packaging templates are blueprints that represent the final product. They outline the dimensions, folds, cuts, and sometimes even the graphical elements of a box, guiding both designers and manufacturers through the creation process. In the packaging industry, the terms “template” and “dieline” are often used interchangeably, though they serve the collective goal of ensuring the packaging achieves its intended form and function.
With a meticulously crafted template in tow, the journey from design to the tangible box becomes a seamless endeavor. As we navigate this guide, you’ll discover the vast realm of paper box templates and the best practices to leverage them effectively.
Dive into Paper Box Templates
Let’s jump right into exploring the various paper box templates. If you’re unsure about choosing the ideal box style for your product, our Ultimate Guide to Box Styles can serve as your go-to resource for inspiration.
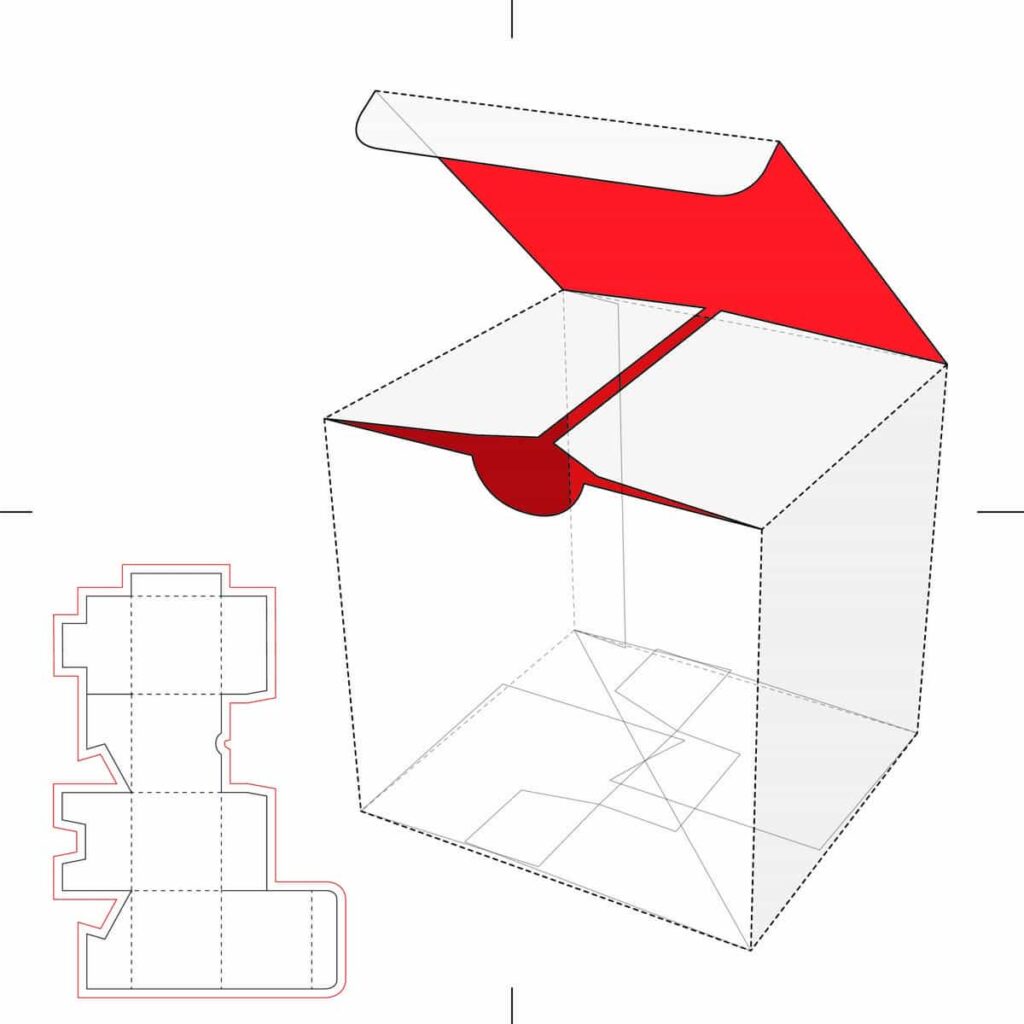
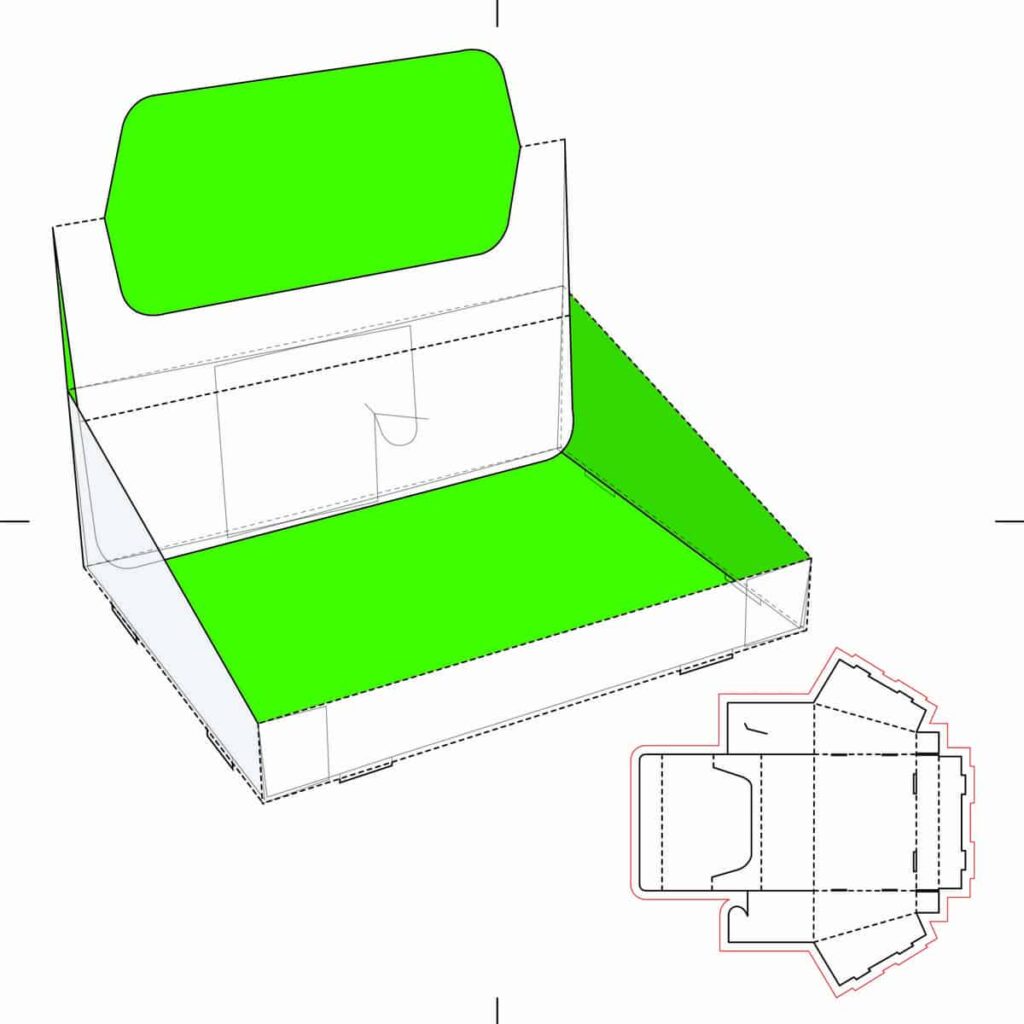
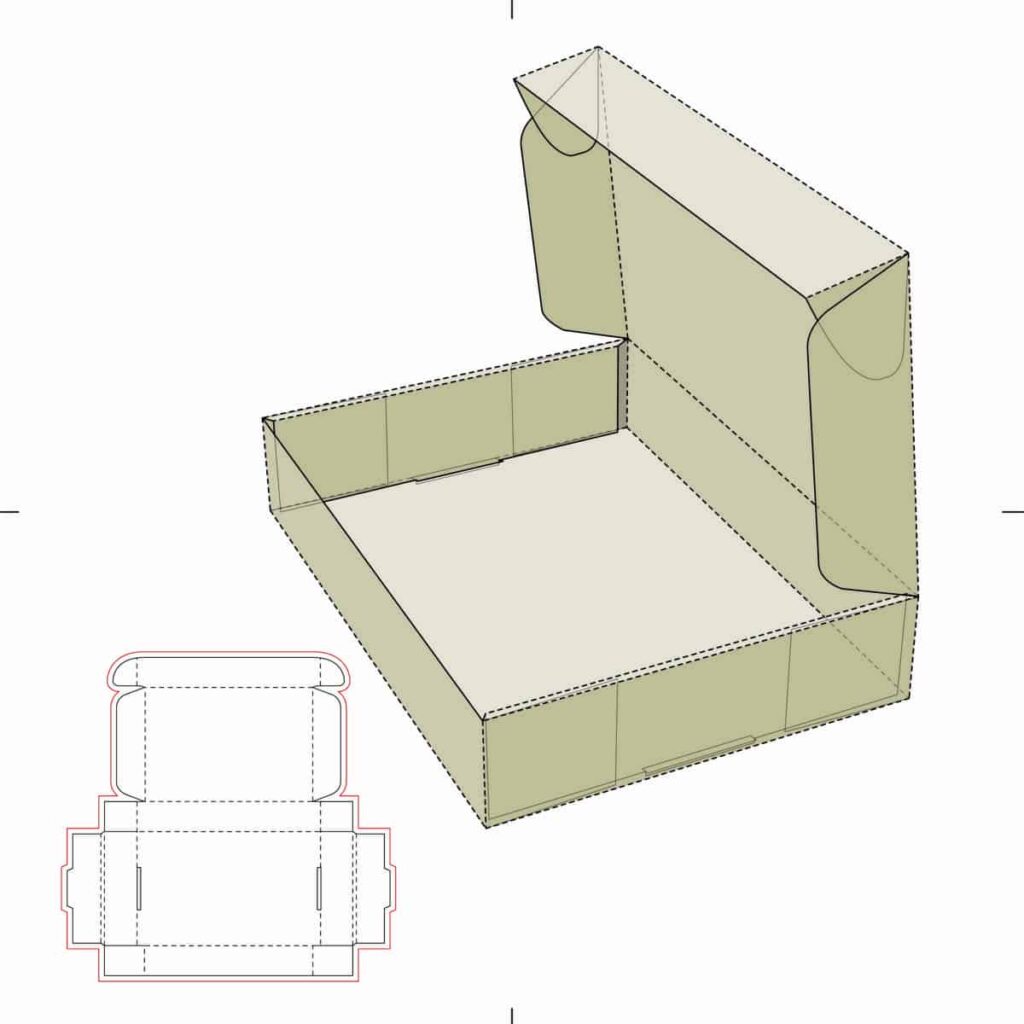
1. Folding Carton Templates
Folding cartons are one of the most versatile and commonly used templates in the packaging world. They are favored due to their adaptability and can be tailored to fit various products.
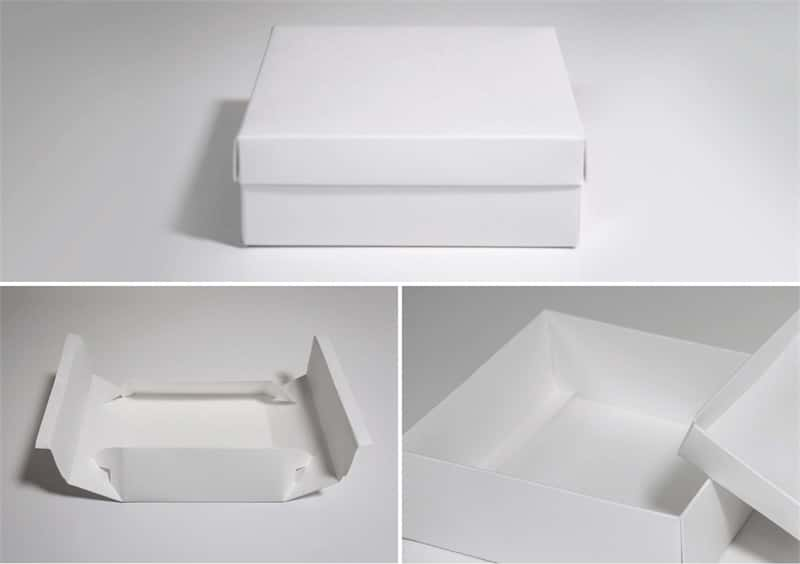
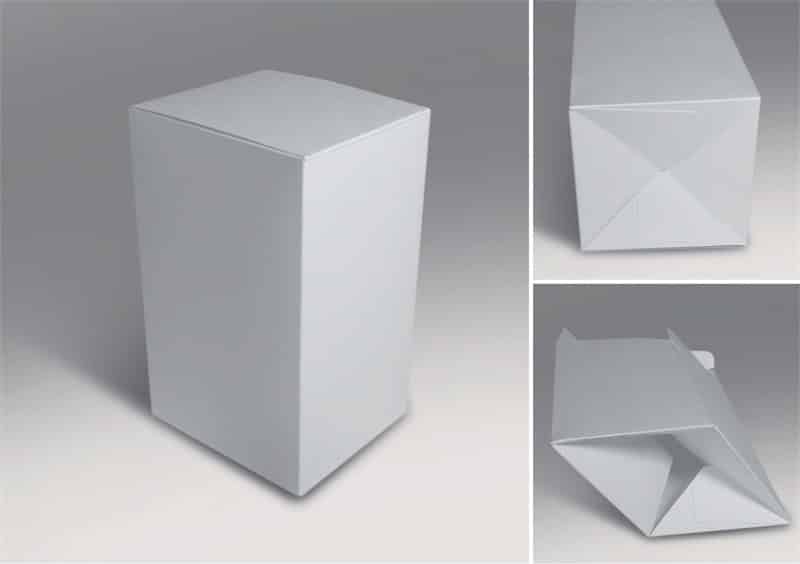
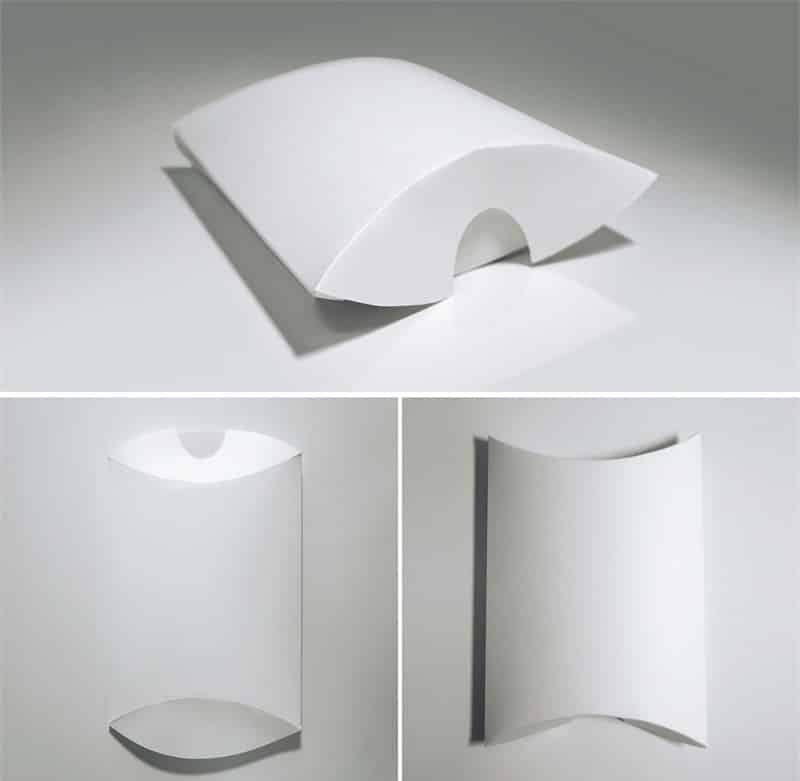
Rigid Box Templates
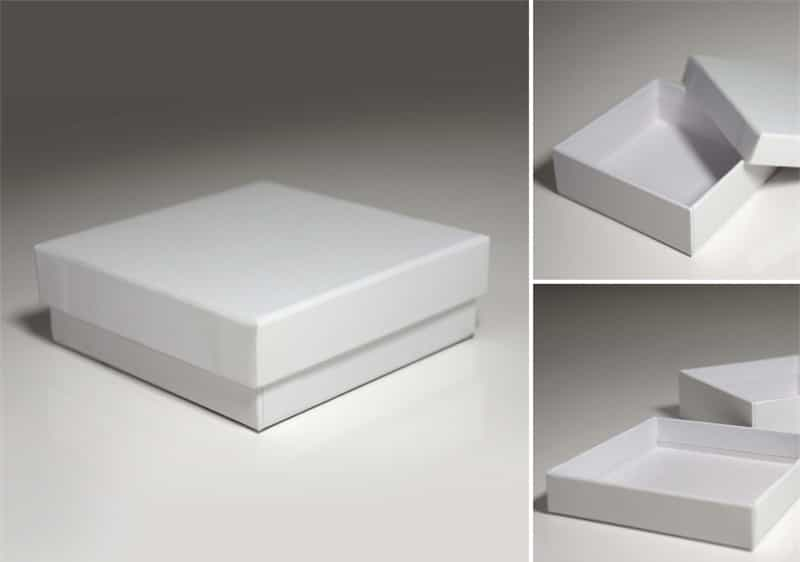
Rigid boxes, often referred to as “set-up” boxes or “gift boxes,” offer a more premium packaging solution. They are sturdier than folding cartons and provide an elegant touch to the packaged product.
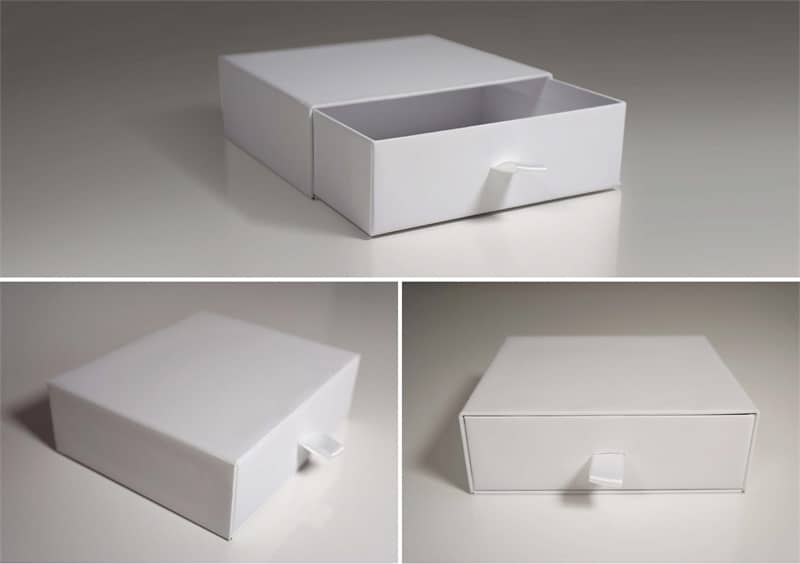
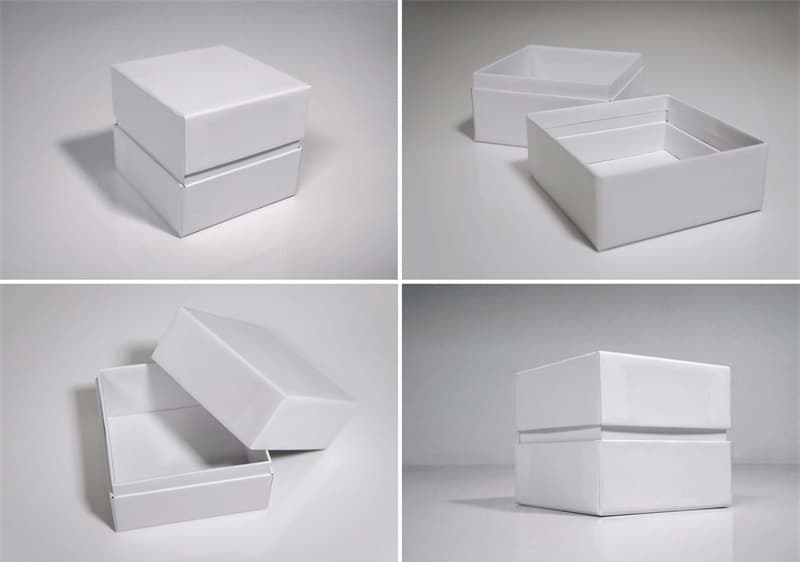
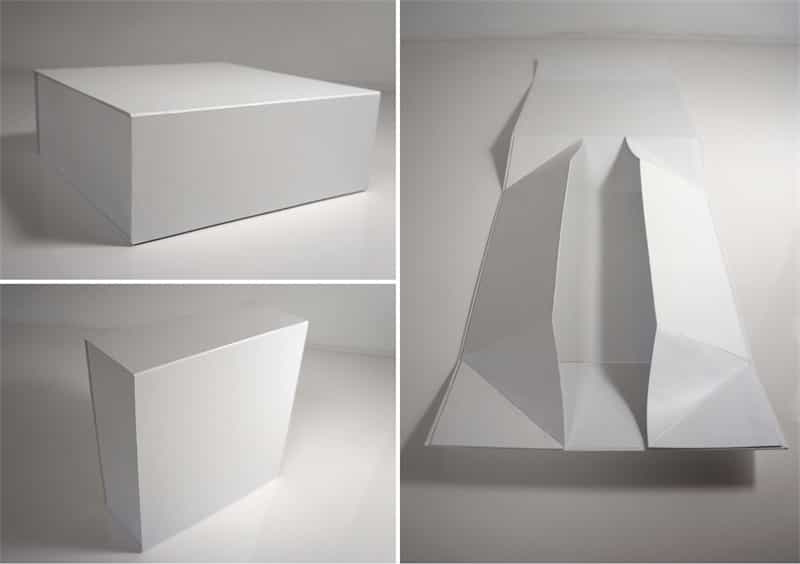
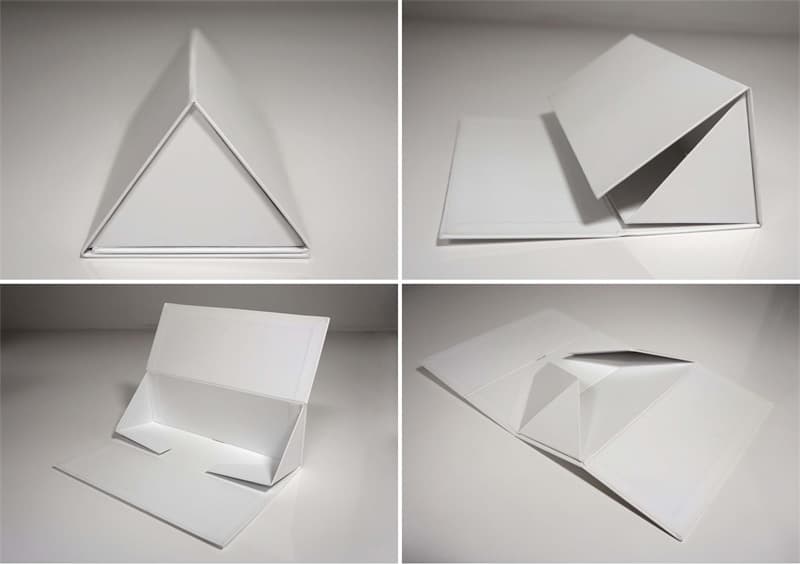
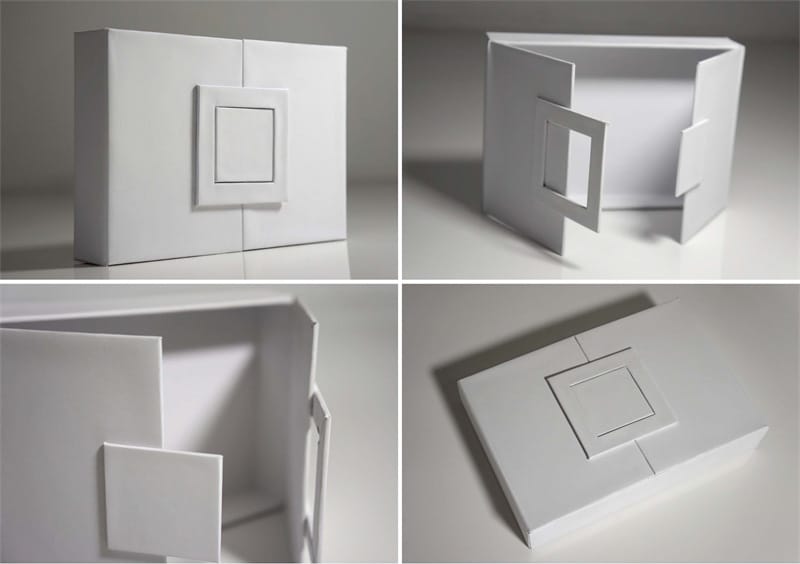
Custom Box Templates
Custom Box Templates: Overview: For unique packaging needs that don’t fit standard box styles, custom box templates offer a flexible solution. Special box styles and custom inserts can be developed to meet your specific requirements. To discuss your custom needs, feel free to contact our specialists here.
How to Make a Paper Box Template
Creating or obtaining the perfect paper box template is a crucial step before transitioning to production. This section offers 3 practical strategies to achieve that.
- Utilizing Online Template Generators
- Platforms like Templatemaker.nl provide an array of templates that can be directly used or serve as inspiration for your custom designs.
- Platforms like Templatemaker.nl provide an array of templates that can be directly used or serve as inspiration for your custom designs.
- Hiring Professional Designers
- Consulting with Manufacturers
- Collaborate with manufacturers to ensure the templates are aligned with production capabilities, thus streamlining the process from design to production.
Transitioning from Templates to Production
Securing a paper box template is only the beginning of the packaging journey. Once you have a template in hand, the challenge is to tailor it to your specific product needs and ensure it’s ready for production. This transformation demands attention to detail, technical expertise, and the right tools. In this section, we will guide you on how to modify your template, employ the right software for design adjustments, and seamlessly transition it to the production phase.
Essential Tools and Software for Box Template Design
- Vector Graphics Software
- Adobe Illustrator and CorelDRAW are leading vector graphics tools perfect for designing and adjusting box templates.
- Adobe Illustrator and CorelDRAW are leading vector graphics tools perfect for designing and adjusting box templates.
- 3D Modeling and CAD Software
- Useful for intricate designs, offering 3D visualization and precision.
- Useful for intricate designs, offering 3D visualization and precision.
Importing and Customizing Pre-existing Templates
- Importing
- Always open the template with compatible software. Its format (e.g., AI, EPS, CDR) determines the right tool.
- Always open the template with compatible software. Its format (e.g., AI, EPS, CDR) determines the right tool.
- Adjusting Size
- It’s vital to ensure the template fits your product perfectly. Modify dimensions carefully, always ensuring proportions are maintained to keep the box functional.
- It’s vital to ensure the template fits your product perfectly. Modify dimensions carefully, always ensuring proportions are maintained to keep the box functional.
- Customizing
- Layering is paramount. Segregate design elements from dielines for easy adjustments and to prevent overlapping with cut or fold lines.
- Layering is paramount. Segregate design elements from dielines for easy adjustments and to prevent overlapping with cut or fold lines.
Tips on Making the Most of Box Templates
- Prototype and Test Extensively
Before moving to mass production, create a prototype using the actual material intended for the final product. This helps in assessing the sturdiness, appearance, and overall functionality. Furthermore, test the prototype with the actual product to ensure a proper fit and function. - Review Dielines with Precision
Ensure all dielines are correctly placed to prevent misprints or incorrect folds. This is especially crucial for complex designs with intricate details. - Maintain Clear Communication with the Manufacturer
Misunderstandings can lead to expensive errors. Always provide precise instructions to the manufacturer, ensuring they fully grasp the nuances of the template. Collaboration with manufacturers during the template design phase can be crucial for aligning the design with production capabilities. - Update Templates as Product Changes
If your product undergoes alterations in size or shape, revisit the template to confirm it remains the optimal fit. - Stay Updated on Packaging Trends
Periodically assess market trends. A template design that’s contemporary and aligns with current aesthetics can elevate the unboxing experience for the end user.
Conclusion
Choosing the right template is a critical step in your packaging journey. With the information in this guide, you’re now better equipped to make informed decisions on selecting and customizing paper box templates. Remember, a well-designed box isn’t just a container; it’s an extension of your brand. Thank you for reading, and good luck with your packaging endeavors!
For more personalized guidance on paper box templates and to explore how we can cater to your specific packaging needs, feel free to contact our team. We are here to assist you on your packaging journey to ensure your brand stands out with quality and creativity.

